我想给博客做一个头像。
黑底,金色细线,「惠远」两个字放在中间,外围围一圈复杂的图案。它可以繁,可以密,可以让人多看几眼。我给这种感觉起了个名字:繁而不乱。
最初想到的是月相和浑天仪。几圈细线相互穿过,已经有一点意思。随后,我和 AI 一起把方向收拢到传统装饰纹样:藤蔓、卷瓣、回旋。细节密密地排开,眼睛却能沿着主茎一路走下去。
我想要的秩序,逐渐变成了几个具体要求:一段藤蔓怎样进入下一段?两处凹槽怎样互嵌?花瓣应该长在哪里?
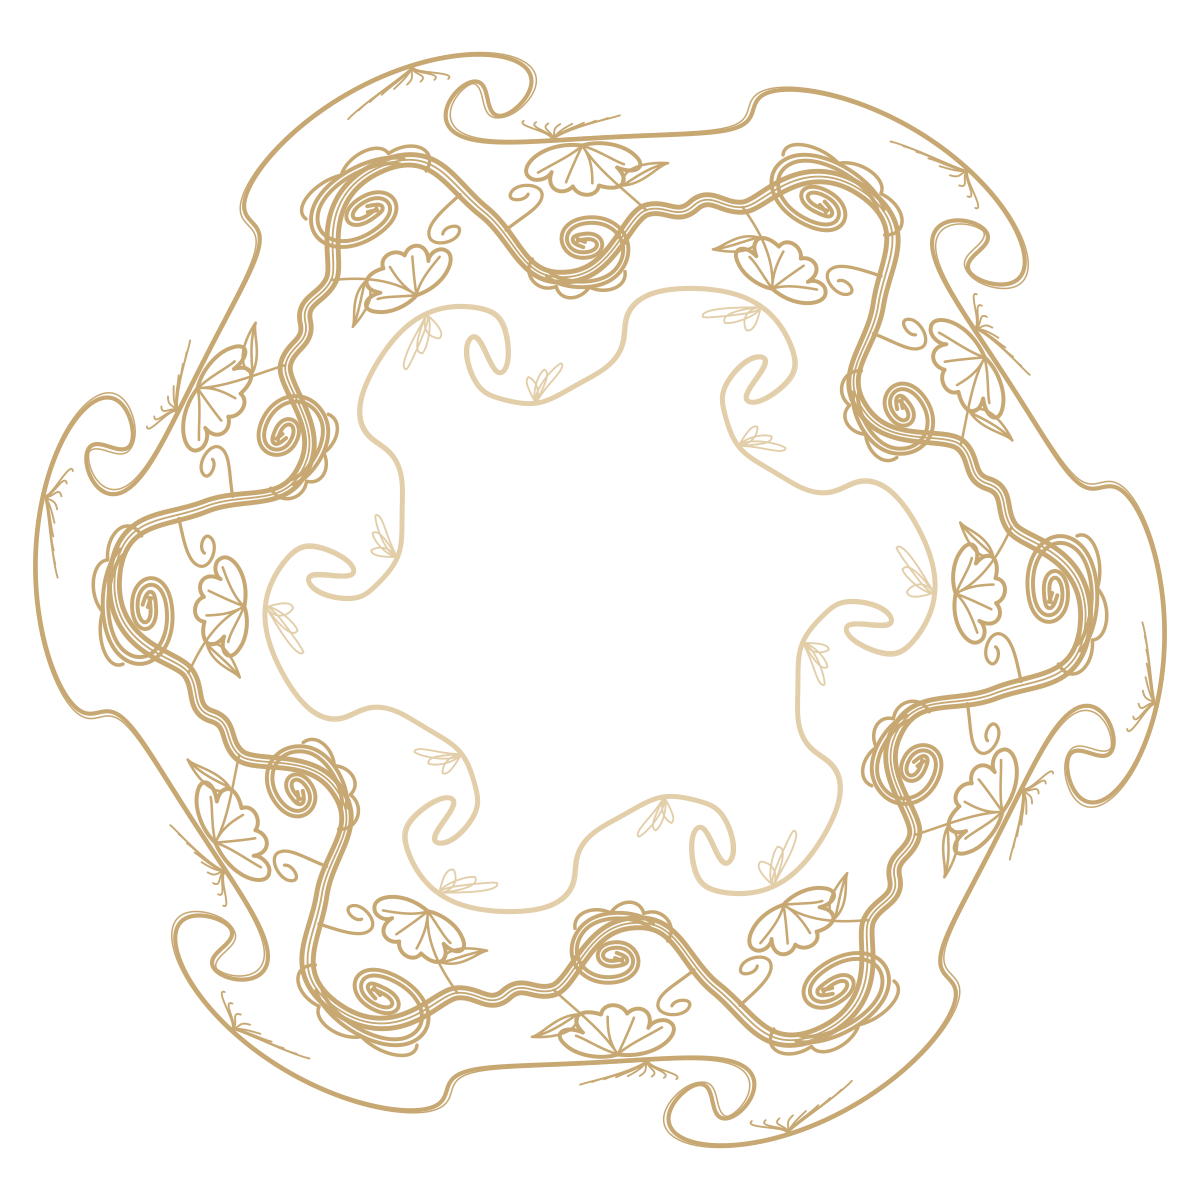
先画好一个接头
拆解参考图,先找最小的完整重复单元,也就是纹样的原子。
沿主茎走一段,找到相同形状再次出现的位置,划出一个周期。把花瓣、细枝和内部描线暂时淡下去,骨架就露出来了。
我在聊天里反复强调首尾衔接和彼此嵌合:A 的凹处容纳 B 的凸处,B 再把线条交给下一个 A。对这样的组合,A 加 B 才是一轮,重复次数也按这一轮数。
镜像、上下翻转和旋转各自改变方向。两个卷瓣看着相似,接到一起时,主茎可能朝两边走。把单元连续平铺三次,中间两条接缝就很容易看清。
入口和出口先重合,再看曲线靠近边界的方向。切线顺着接起来,眼睛才会把它们读成一根藤蔓。凹槽的极值位置也要对应,为互嵌的另一半留出空间。进一步追求平顺时,还可以检查曲率的变化,把它作为设计目标。
理解 SVG 曲线,可以从 M 和 C 入门:M 定起点,C 用三次贝塞尔曲线描出主茎,控制点决定端点附近的方向。这次制作台会先把曲线采样成点,预览和导出共用这份几何;Canvas 画预览,SVG 用 M、L 连接这些点,形成折线路径。采样足够细时,视觉上仍是一条平顺的曲线。
主茎顺了,再把花瓣放进凹处。花瓣跟着留白调整大小,细枝沿着主茎展开。细节有了依附的位置,单元就有了轻重。
植物卷曲的部分,可参考故宫的卷草纹词条;枝蔓缠绕的组织,可参考缠枝词条。我把这次的整体称为“环形复合装饰纹样”,直接描述它的构成。
把一条带绕成圆
接下来,把纹带绕成圆环。
给单元里的点建立归一化坐标:u 表示沿纹带的位置,一个周期从 0 走到 1;v 表示厚度方向的偏移。第 i 个单元可以这样映射:
function bendPoint(u, v, i, N, R, H) {
  const theta = 2 * Math.PI * (i + u) / N;
  const r = R + v * H;
  return [r * Math.cos(theta), r * Math.sin(theta)];
}
N 是重复次数,R 是基准半径,H 控制环带厚度。横向位置变成角度,纵向偏移变成半径变化,平面的纹带就沿圆周展开了。
接缝也来到圆上。一个周期的末端和下一个周期的起点,应落在同一径向位置,映射后的方向也要衔接。最后一段回到第一段时,同样检查。
独立徽记则适合把完整模块放到圆周上,逐个旋转。平移、旋转和镜像的写法,可以查 MDN 的 transform 文档。先看清图案是连续纹带还是独立模块,再选择排列方式。
我让 AI 把次数、半径、厚度做成滑块,用参数检验这套拆解。拖动次数,观察各段接头;改半径,观察整圈间隙;改厚度,看凹槽和花瓣怎样展开。参数一动,结构就显出来了。
次数增加时,还要一起看线宽、花瓣间的空隙,以及缩到头像大小后留下的细节。网站里的实际尺寸,就是很直接的判断标准。
用参考图校准眼睛
这次整理的参考图有 14 个边框和 11 个描线 Logo,加上 3 个研究纹样,共 28 项。图谱按构成分成 17 项连续纹带与 11 项 Logo、徽记。
复绘可以叠到参考图上,对齐位置和尺寸,再调整透明度。先看轮廓,再数完整周期,接着核对镜像方向。一个卷瓣朝向反了,单看也许顺眼,叠上去就很明显。
数量尤其影响节奏。少一组细枝,或把半个周期算成一个周期,都会改变整圈的疏密。叠加把判断落在具体位置,帮助继续修形。
图谱的编号和缩略图用来找图,制作台的参数用来理解图。可以先选一个连续边框,只开一层,依次调次数、半径、厚度。看清这一层,再加第二层。
三层,给姓名留一个中心
我最后选了藤蔓花瓣、对生卷浪、相生卷瓣,三层各重复六次。
每层独立设置纹样、颜色、线宽、半径、厚度和角度,同一个纹样也能用在不同层。三层,就是三组各自可调的几何与样式。
安排层次时,可以先确定外圈,再安排内圈,最后处理贴近姓名的一层。每加一层,就缩到首页的实际大小看一次:中心留白容得下两个字,三层主茎各自清楚,细纹在靠近时提供细节。
到这里,繁而不乱有了具体的样子。线条之间有关系,眼睛有地方进入,也有地方停下。
制作台的头像预设能精确还原这次导出的三层静态组合。打开时默认暂停,各层速度为零,可以直接调参数;想看运动,再为各层设置速度。
让整张图转起来
组合确定后,我导出 SVG 放进博客。文件保存当时的颜色、线宽、角度与几何,网页负责拖动和惯性。
首页让合成图整体顺时针旋转,每秒三度,两分钟一圈。手指或鼠标拖动时,以圆环中心为原点,用 atan2 算指针角度,并转成度。跨过正负 180 度时,取最短的有符号角差,圆环就能跟着手继续走。
松手后,角速度逐渐回到每秒三度。下面的角度单位是度,角速度是度每秒,时间是秒:
pointerAngle = atan2(y - centerY, x - centerX) * 180 / π
omega(t) = 3 + (omegaRelease - 3) * exp(-t / 1.1)
1.1 秒是恢复的时间常数。快拨一下,它顺着那股力转一会儿,再回到自己的节奏。制作台按层调参数,博客头像则把整个组合交到手里。
页面滚过首屏高度的七成,姓名归入顶部品牌,圆环留作淡色旋转背景。它先把人带进页面,随后给文章腾出位置。
一张头像,让我和 AI 一起摸到了纹样里的接头、方向、重复和留白。把这些关系写成参数,调整每一圈就有了依据。
可以从纹样制作台的一层开始,也可以先逛纹样图谱,挑一个愿意沿着主茎走一遍的图案。制作台代码和博客一起放在 GitHub,网页沿用现有 Cloudflare Pages 发布。
I wanted an avatar for my blog.
A black background, fine gold lines, and my name, “惠远,” in the center, surrounded by an intricate pattern. It could be dense. It could invite a closer look. I called the feeling I was after “ornate, yet ordered.”
My first ideas were moon phases and armillary spheres. A few intersecting rings of fine lines already had some appeal. Then, working with AI, I narrowed the direction to traditional decorative patterns: vines, curling petals, and spirals. The details could be tightly packed while the eye still followed a main stem all the way through.
The order I wanted gradually became a few concrete requirements. How does one vine section flow into the next? How do two recesses interlock? Where should a petal grow?
Start with a good join
To break down a reference image, first find the smallest complete repeating unit: the pattern’s building block.
Follow the main stem until the same shape appears again, and mark out one period. Fade the petals, small branches, and internal lines for a moment. The underlying structure becomes visible.
In the conversation, I kept emphasizing connection and interlocking. A’s recess should accommodate B’s protrusion; B should then pass the line on to the next A. For this kind of arrangement, A plus B makes one complete repeat. Count repetitions on that basis.
Mirroring, vertical flipping, and rotation each change the direction in their own way. Two curls may look similar, yet their stems can head in opposite directions at the join. Tile the unit three times, and the two seams in the middle become easy to inspect.
Match the entrance and exit positions first, then examine the direction of the curves near the boundary. When the tangents line up, the eye reads them as one vine. The positions of the recesses’ extrema should also correspond, leaving room for the interlocking half. For a smoother result, examine how curvature changes across the join and use continuity as a design goal.
To understand SVG curves, start with M and C: M sets the starting point, and C draws the main stem with a cubic Bézier curve. Its control points determine the direction near the endpoints. This studio samples curves into points and shares that geometry between preview and export. Canvas renders the preview; SVG connects the points with M and L to form polyline paths. With sufficiently fine sampling, the result still looks like a smooth curve.
Once the main stem flows, place petals in the recesses. Size them to fit the open space, and let the smaller branches extend along the stem. Giving each detail a place to grow establishes a hierarchy within the unit.
For curling plant forms, see the Palace Museum’s entry on scrolling foliage patterns. For the organization of interwoven vines, see its entry on intertwining branches. I call this particular composition a “composite circular ornament,” a name that describes its structure.
Bend a strip into a ring
The next step is to wrap the strip around a circle.
Give each point in the unit normalized coordinates. u marks its position along the strip, running from 0 to 1 over one period; v marks its offset across the strip’s thickness. Map the point in repeat i like this:
function bendPoint(u, v, i, N, R, H) {
  const theta = 2 * Math.PI * (i + u) / N;
  const r = R + v * H;
  return [r * Math.cos(theta), r * Math.sin(theta)];
}
N is the repeat count, R the base radius, and H controls the ring’s thickness. The horizontal position becomes an angle; the vertical offset becomes a change in radius. The flat strip unfolds around the circle.
The seams move onto the circle, too. The end of one period and the beginning of the next should meet at the same radial position, with their transformed directions aligned. Check the same relationship where the last repeat meets the first.
For an independent emblem, place the complete module around the circle and rotate each copy. The syntax for translation, rotation, and mirroring is covered in MDN’s transform documentation. First identify whether the pattern is a continuous band or a set of separate modules, then choose the arrangement.
I asked AI to turn repeat count, radius, and thickness into sliders, using the parameters to test the breakdown. Change the count to inspect the joins. Change the radius to inspect the spacing around the ring. Change the thickness to see how the recesses and petals spread out. Moving a parameter reveals the structure.
As the count increases, keep an eye on stroke width, the gaps between petals, and the details that remain visible at avatar size. The actual size on the website provides a direct measure.
Calibrate your eye with the reference
The reference set contains 14 borders and 11 outline logos. With three additional study patterns, the library has 28 entries, organized into 17 continuous bands and 11 logos or emblems.
Overlay a reconstruction on the reference, align their position and size, then adjust the opacity. Examine the outline first, count complete periods next, and check mirror directions after that. A curl facing the wrong way may look plausible on its own; the overlay makes the difference clear.
The count has a particular effect on rhythm. One missing group of branches, or counting half a period as a whole one, changes the density of the entire ring. An overlay gives those judgments specific locations and helps guide further shaping.
The library’s numbers and thumbnails help you find a pattern. The studio’s parameters help you understand it. Start with a continuous border and enable a single layer. Adjust count, radius, and thickness in turn. Once that layer makes sense, add a second.
Three layers, with a center for the name
I settled on three patterns: a flowering vine, paired wave curls, and intertwined curling petals. Each repeats six times.
Each layer has its own pattern, color, stroke width, radius, thickness, and angle. The same pattern can appear in several layers. Three layers means three independently adjustable sets of geometry and styling.
To arrange the layers, you can establish the outer ring first, then the inner ring, and finally the layer closest to the name. After each addition, view it at its actual size on the homepage. The center should have room for the two characters, each main stem should remain clear, and the fine lines should reward a closer look.
Here, “ornate, yet ordered” takes a concrete form. The lines relate to one another. The eye has a place to enter and a place to rest.
The studio’s avatar preset precisely reproduces the exported three-layer static composition. It opens paused, with all layer speeds set to zero, ready for parameter adjustments. To see it move, set a speed for each layer.
Set the whole image in motion
With the composition chosen, I exported the SVG and put it in the blog. The file preserves the colors, stroke widths, angles, and geometry at export time. The webpage handles dragging and inertia.
On the homepage, the combined image rotates clockwise at three degrees per second, completing a turn in two minutes. During a mouse or touch drag, atan2 calculates the pointer angle around the ring’s center, then converts it to degrees. When the pointer crosses the boundary between positive and negative 180 degrees, the shortest signed angular difference lets the ring keep following the hand.
After release, angular velocity gradually returns to three degrees per second. Here, angles are in degrees, angular velocity in degrees per second, and time in seconds:
pointerAngle = atan2(y - centerY, x - centerX) * 180 / π
omega(t) = 3 + (omegaRelease - 3) * exp(-t / 1.1)
The 1.1 seconds is the recovery time constant. Give it a quick flick, and it follows that momentum for a while before returning to its own pace. The studio lets you adjust individual layers; the blog avatar puts the entire composition under your hand.
After scrolling through 70 percent of the first screen’s height, the name moves into the brand at the top, while the ring remains as a faint rotating background. It draws you into the page, then makes room for the articles.
An avatar led me and AI through the joins, directions, repetition, and open space within a pattern. Turning those relationships into parameters gave each adjustment a reason.
Start with a single layer in the ornament studio, or browse the pattern library and choose a pattern whose main stem you would like to follow. The studio’s code lives alongside the blog on GitHub, and the site uses its existing Cloudflare Pages publishing setup.